1 Cindi Bisson McGee - Behind These Eyes : gift box
Showing posts with label gift box. Show all posts

Monday, July 15, 2013

Rowlux® Illusion Film Blog Hop

Rowlux® Illusion Film is absolutely dazzling!  When I opened my sample package for the hop, I was mesmerized by the dimensional illusion the brightly colored sheets.  The official names of the patterns are Moire, 3D, Sea Glass and Serpentine, but they reminded me of liquid gold, flowing water, pearlized satin, shimmering alligator skin.....  purple, dark blue, gold, emerald green, hot pink, lime green....and more. So many colors and different “textures” to choose from it’s mind boggling. 

Rowlux® Illusion Film is made in the USA and comes in a diverse range of spectacular eye-catching colors and patterns.  This revolutionary material has been utilized in award winning point of purchase displays, packaging, signage, artwork, footwear, lighting, interior design, retail display fixtures and beyond. Our new frontier is the craft industry! There's absolutely nothing like it on the market. These durable, translucent, 12" x 12" polycarbonate sheets add instant pizzazz to craft projects, seasonal accents, party decorations, scrapbooks, greeting cards, jewelry, furniture, frames, gifts, favors, accessories, art and DIY home decor projects. Easily cut with scissors, Rowlux® is also the perfect material for scoring, folding, embossing and die cutting. The creative possibilities are endless. This innovative and inspiring new craft material manipulates light to create dazzling visual effects. The illusion of depth and motion is the result of thousands of tiny parabolic lenses that are molded into the surface of both sides of the material. These lenses create a pattern of light reflection and refraction resulting in stunningly brilliant optical effects.

To instantly add "POP" and "WOW" to your projects, just add Rowlux®!

For special promotions, giveaways and to keep up to date on the exciting Rowlux® Illusion Film craft revolution, be sure to:

Follow Rowlux® on Twitter
LIKE Rowlux® on Facebook
Follow Rowlux® on Pinterest
Subscribe to Rowlux® on YouTube
(video content coming soon!)

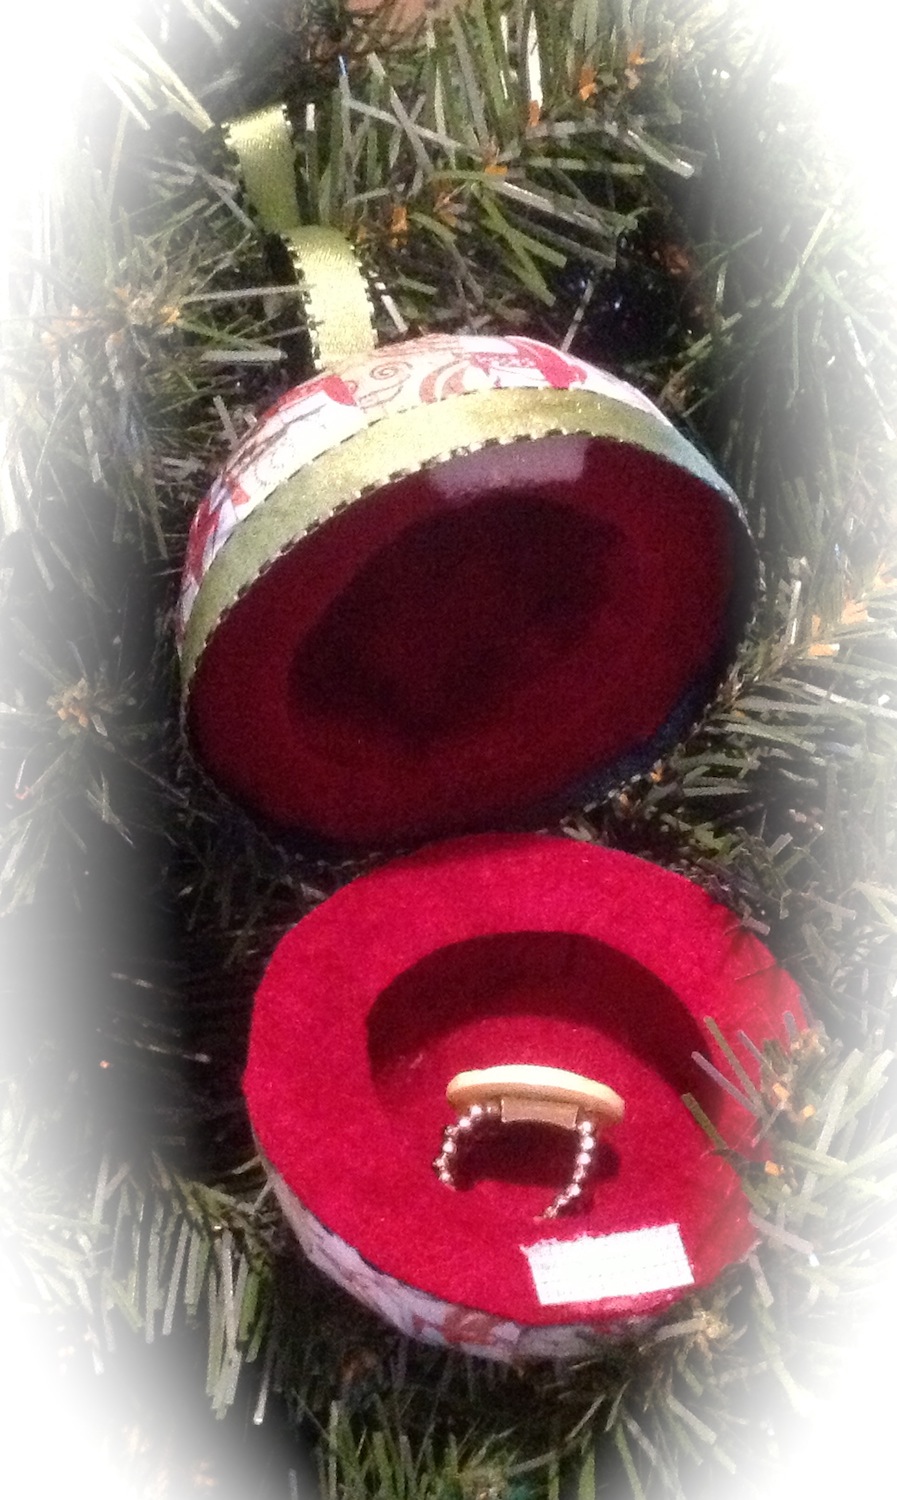
I have designed multiple projects in the week since receiving my box, and will be sharing more of them in the coming weeks.  Today, I’m sharing this liquid gold gift box, perfect for presenting a set of handmade jewelry (find out how I created this set here) to a special friend. 

Materials:

Rowlux® Illusion Film Gold Moire
Sizzix® Big Shot™
Sizzix® Eileen Hull Die - Sizzix ScoreBoards XL Die - Box, Triangle
JudiKins 3487 F • Happy Birthday Copperplate Rubber Stamp
Stewart Superior Palette Inkpad - Noir Black
Black & gold 7/8* ribbon
Glue Dots® Continuous Glue Lines® Roll
Continuous Glue Lines® Roll


Rowlux® Illusion Film can be purchased on Amazon at the following link:    http://www.amazon.com/Rowlux-Illusion-Film-Polycarbonate-12-Inch/dp/B00CW7940Q/ref=sr_1_1?s=arts-crafts&ie=UTF8&qid=1372292244&sr=1-1&keywords=rowlux


I die cut the box from the Gold Moire Rowlux® Illusion Film with the Sizzix® Big Shot™ and Eileen Hull's Sizzix ScoreBoards XL Die - Box, Triangle.  The earrings and pendant were wrapped in gold tissue paper, and then inserted into the box.  "Happy Birthday" was stamped onto a piece of the gold Rowlux® with the Palette inkpad, then mounted to the bottom front
of the box using Glue Dots® Glue Line® on the left and right edges.  A strip of he black & gold ribbon was added as an accent piece above the Happy Birthday, and was used to tie the box shut at the top/opening.

Check out the complete list of participants in the Rowlux® Illusion Film Designer Blog Hop HERE!

AND.... THEY ARE HOSTING a Rafflecopter giveaway WHERE YOU CAN ENTER TO WIN THE 6 PACK OF ROWLUX ILLUSION FILM OF YOUR CHOICE! *winner must provide a valid US or Canadian street shipping address

Friday, December 7, 2012

Holiday Ornament Gift Box


A 3” Smoothfoam ball is the base of this ornament which also serves as a gift box for a small treasure.

 Materials: 

Smoothfoam 3” ball
Plaid Mod Podge
Connie Crystals - blue, red
Silver wire
Foam brush
1/4” Ribbon
Spoon
Reindeer paper from BasicGrey Blitzen Collection
Westcott Premium TrimAir Titanium Paper Trimmer
Westcott Craft Titanium Bonded Non-Stick Scissors
Westcott Craft Hobby Knife
Red felt
Velcro Brand Sticky Back Fasteners

Instructions:


Carefully cut ball in half with craft knife.

Use a spoon (grapefruit spoon makes it easier as it has a grooved edge) to hollow out inside of both halves of ball.

Cut 1/2”  x 2” strips of patterned paper and Mod Podge onto top and bottom outsides of ball, overlapping each piece slightly.  Let dry. 

Cut 1 1/2” strip of wire, add small blue crystal bead and medium red crystal bead and insert through bottom center of ball.

Cut 4” strip of wire, add medium red crystal bead, medium green crystal bead, and small blue crystal bead.  Insert through top center of ornament.  Create loop at end to attach ribbon.

Cut felt to fit in bottom of both halves, mount.  Cut strips of felt to fit around inside of balls, mount against base piece of felt in each half.

Cut ribbon to wrap around center of ornament.  Glue ribbon in place on bottom of TOP of ornament,
extending downward so it will cover the edge of the bottom half when the ornament is “closed." 

Mount 1" strip of ribbon vertically along back center of ball (this will be your “hinge").


Mount small piece of sticky backed Velcro to inside center front of box to hold ornament closed. 


Creating hand-made ornaments each year is part of our family tradition - why not start your own tradition, and collection, this year? - Cindi